Beginner’s DIY Jewellery Journey: Unlocking the Secrets of Seed Bead Craftsmanship
Embarking on the path of creating your own adornments can feel both thrilling and slightly daunting, especially when you're staring at a bewildering array of tiny seed beads and wondering where on earth to begin. The beauty of seed bead craftsmanship lies in its accessibility; with just a handful of essential materials and a willingness to experiment, you can transform humble components into stunning, bespoke pieces that reflect your personal style. Whether you're drawn to the delicate intricacy of woven patterns or the satisfying simplicity of a strung necklace, this journey promises creativity, patience, and ultimately, the joy of wearing something you've crafted with your own hands.
Essential Tools and Materials for Starting Your Seed Bead Adventure
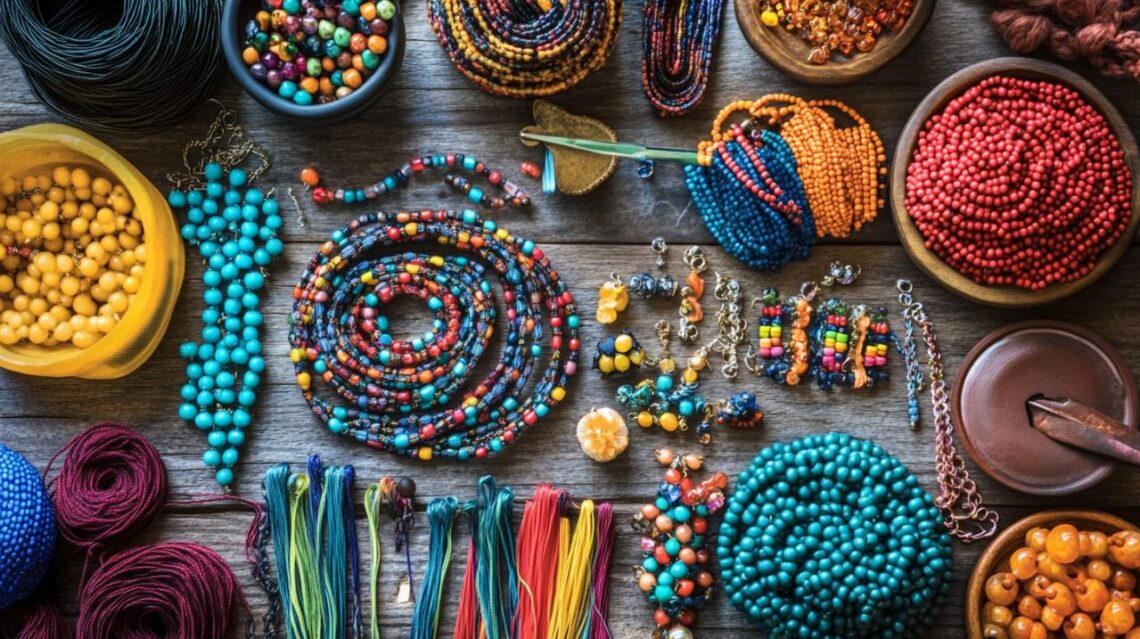
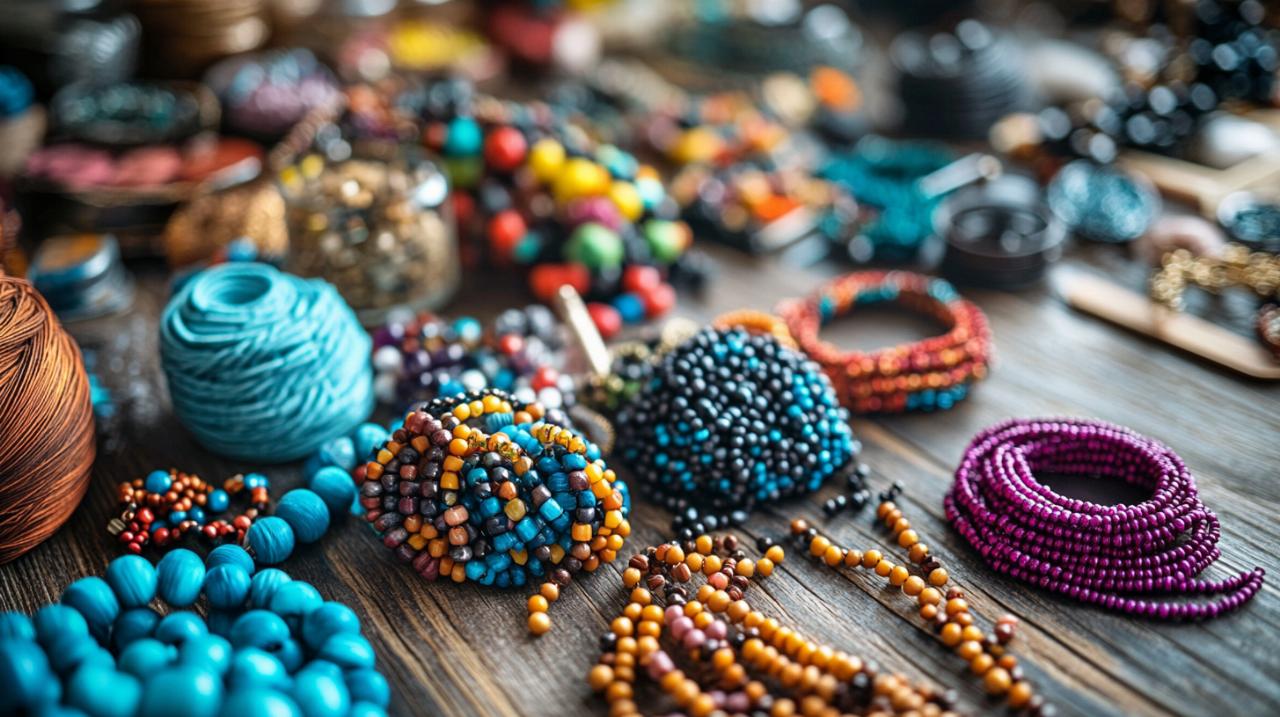
Before you dive into the delightful world of seed beading, it's crucial to assemble the right toolkit. Unlike some hobbies that demand a hefty initial investment, jewellery making supplies for seed bead projects are refreshingly affordable and widely available. You'll need a selection of seed beads, which are the tiny, uniformly shaped beads that form the backbone of most designs. These beads come in different sizes, commonly labelled as fifteen nought, eleven nought, and eight nought, with the numbers indicating the size in a somewhat counterintuitive manner; the larger the number, the smaller the bead. For beginners, eleven nought beads strike a lovely balance between being easy to handle and versatile enough for a range of projects. Alongside your beads, you'll require beading needles, typically size ten or twelve, which are ideal for those just starting out as they're fine enough to pass through the bead holes yet sturdy enough to withstand repeated threading. Thread is another critical component, with options ranging from nylon to polyester, each offering different levels of strength and flexibility. It's worth experimenting with a few types to discover which feels most comfortable in your hands and suits the particular project you're tackling.
Selecting the Right Beads and Wire for Your First Project
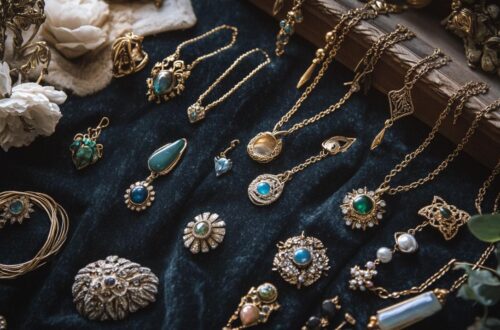
When it comes to choosing beads for your inaugural project, simplicity is your friend. Opt for a single colour or a harmonious two-tone palette to keep the design manageable while you're mastering the basics. Many craft suppliers offer jewellery kits that bundle together everything you need for a specific design, which can be a brilliant way to bypass the overwhelm of choice and ensure you have compatible materials. If you're purchasing items separately, pay attention to the quality of the beads; uniformly sized, smooth-surfaced beads will make the stitching process far more enjoyable than irregular, rough-edged alternatives. Wire is another material you'll encounter, particularly if you plan to incorporate charms or pendants into your designs. Beading wire, which is actually composed of multiple fine steel cables coated in nylon, offers excellent strength and flexibility, making it perfect for stringing projects. For more structured pieces, you might explore traditional jewellery wire in copper or silver-plated brass, which can be shaped and manipulated with pliers to create loops, clasps, and decorative elements. Findings and components such as clasps, jump rings, and crimp beads are equally important, as they provide the functional finishing touches that transform a length of beaded thread into a wearable piece. Investing in a few basic findings in both silver and gold tones will give you the versatility to match your designs to different styles and preferences.
Must-have equipment every jewellery maker should own
Beyond beads and thread, a modest collection of jewellery tools will make your crafting experience smoother and more enjoyable. A good pair of chain-nose pliers is indispensable for gripping wire, opening jump rings, and tucking in thread ends with precision. Round-nose pliers, with their tapered, circular jaws, are perfect for creating neat loops and wire-wrapped connections, essential skills for adding pendants or linking sections of a design. Wire cutters, ideally flush-cut, will give you clean, even cuts that won't leave sharp edges to snag on thread or skin. A beading mat, typically made from a soft, non-slip fabric, prevents your beads from rolling away and provides a comfortable workspace. Many jewellery makers also swear by a task light with a magnifier, especially when working with particularly tiny beads or intricate patterns, as good lighting reduces eye strain and helps you spot threading errors before they become entrenched. If you're planning to explore mixed media projects that incorporate leather, fabric, or papercraft elements, you might also consider adding fabric scissors, a hole punch, and some adhesive to your toolkit. These items expand your creative possibilities and allow you to blend traditional beading techniques with other craft disciplines, resulting in truly unique pieces. Finally, a storage solution for your growing collection of supplies is worth considering early on; small compartmentalised boxes keep beads organised by colour and size, while tool rolls or pouches ensure your pliers and cutters remain in good condition and easy to find.
Mastering fundamental techniques: from simple stringing to complex patterns
Once your workspace is set up and your materials are gathered, it's time to learn the foundational techniques that underpin all seed bead jewellery. Simple stringing is often the starting point for beginners, involving threading beads onto wire or cord in a linear fashion and securing the ends with clasps. While this might sound straightforward, there's a surprising amount of nuance involved in creating a professional-looking strung necklace, from ensuring even tension to selecting the right length and drape. As your confidence grows, you'll likely want to explore seed beading, which involves stitching or weaving small beads together using thread and needles to create patterns, textures, and structures. This technique opens up a world of possibilities, from flat, fabric-like panels to three-dimensional forms and sculptural shapes. One popular stitch that creates a flexible, patterned fabric is the Peyote stitch, which produces a distinctive brick-like pattern and is surprisingly intuitive once you grasp the rhythm. Other stitches such as brick, herringbone, and right-angle weave each offer unique textures and structural properties, and learning just one or two of these will dramatically expand your design repertoire.
Creating your first seed bead necklace: a step-by-step walkthrough
Let's walk through the process of creating a simple strung necklace, a project that's both achievable for absolute beginners and satisfying to complete. Start by measuring a length of beading wire approximately ten centimetres longer than your desired finished necklace length; this extra allowance gives you room to work with when attaching the clasp. Thread a crimp bead onto the wire, followed by the loop of your chosen clasp, then pass the wire back through the crimp bead, creating a small loop that secures the clasp. Use your chain-nose pliers to flatten the crimp bead firmly, ensuring the wire is held securely but without crushing the bead so hard that it damages the wire strands. Now comes the enjoyable part: threading your beads onto the wire in your chosen pattern. For a first project, alternating two colours in a regular rhythm or creating a gentle gradient from light to dark can be visually striking without being overly complex. As you add beads, occasionally hold the necklace up to check the overall balance and ensure you're happy with the colour distribution. Once you've reached your desired length, finish the other end in the same manner as the first, threading a crimp bead, passing the wire through the other half of your clasp, and bringing it back through the crimp and several of the last beads for added security. Trim any excess wire, being careful not to cut too close to the crimp, and your first necklace is complete. This basic technique can be adapted endlessly; you might incorporate charms or pendants at the centre point, use different sizes of seed beads to create texture, or experiment with chains and leather as the foundation rather than wire.
Understanding Thread Tension and Finishing Touches for Professional Results
One of the subtler skills that separates amateur work from professional-looking pieces is mastering thread tension. When you're stitching seed beads together, maintaining consistent tension ensures that your work lies flat and even, without puckering or gaps. Too tight, and your piece becomes rigid and may even warp; too loose, and the structure becomes floppy and the thread may be visible between beads. Developing a feel for the right tension comes with practice, but a useful tip is to periodically pause and examine your work from different angles, gently flexing it to see how it behaves. If you notice inconsistencies, don't hesitate to unpick a few rows and try again; this process of trial and error is a natural part of learning and will quickly improve your technique. Finishing touches are equally important and can elevate a simple design into something truly special. Weaving in thread ends securely, ideally by passing the needle back through several beads in a zigzag pattern and trimming close to the work, ensures that your piece won't unravel with wear. Adding a dab of clear jewellery glue or thread conditioner to knots can provide extra security, though be sparing to avoid visible residue. Polishing metal findings and components with a soft cloth before attaching them will give your finished jewellery a gleaming, shop-bought appearance, while taking the time to ensure all jump rings are properly closed and clasps function smoothly demonstrates attention to detail that wearers will appreciate.
Elevating your craft: design inspiration and advanced seed bead methods
As you grow more comfortable with the basics, you'll naturally begin to crave more complex challenges and opportunities for creative expression. Design inspiration can come from countless sources; the natural world, with its intricate patterns and colour combinations, is a perennial favourite among jewellery makers. Geometric shapes, architectural details, vintage textiles, and even abstract art can all spark ideas for new projects. Many crafters find it helpful to keep a sketchbook or digital folder where they collect images, colour swatches, and rough sketches of potential designs. This habit not only provides a wellspring of ideas when you're feeling stuck but also helps you develop your own distinctive aesthetic over time. Online platforms and communities dedicated to jewellery making are treasure troves of tutorials and inspiration, with many sites offering jewellery classes and step-by-step guides for specific techniques. Engaging with these resources and perhaps even joining a local or virtual crafting group can provide valuable feedback, encouragement, and fresh perspectives on your work.
Colour Theory and Pattern Development for Stunning Bespoke Pieces
Understanding basic colour theory can dramatically enhance the visual impact of your seed bead jewellery. Complementary colours, those opposite each other on the colour wheel such as blue and orange or purple and yellow, create vibrant, high-contrast designs that catch the eye. Analogous colours, which sit next to each other on the wheel, produce harmonious, soothing combinations that are easy to wear and versatile. Experimenting with different colour relationships will help you discover what resonates with your personal style and the aesthetic you want to convey. Patterns can range from simple stripes and checks to intricate motifs inspired by traditional textiles or cultural designs. When developing a pattern, it's often helpful to work it out on graph paper first, with each square representing a single bead; this allows you to visualise the overall effect and make adjustments before you start stitching. As your skills advance, you might explore techniques such as adding rhinestones or fancy stones to your beadwork for a touch of sparkle, or incorporating other craft supplies like papercraft elements or mixed media components to create truly one-of-a-kind pieces. The key is to approach each project as an opportunity to learn and experiment, rather than focusing solely on the finished product. This mindset will keep your practice enjoyable and ensure that your skills continue to develop over time.
Troubleshooting common mistakes and building your jewellery-making confidence
Every jeweller, no matter how experienced, encounters setbacks and mistakes; it's an inevitable part of the creative process. Common issues for beginners include thread breaking, beads that won't sit flat, and patterns that don't quite match up as planned. Rather than viewing these as failures, treat them as valuable learning opportunities. If your thread keeps breaking, it may be too thin for the project or you might be pulling too tightly; switching to a stronger thread or consciously loosening your tension can often solve the problem. Beads that refuse to lie flat are usually a symptom of uneven tension or a mismatch between bead size and the stitch you're using; experimenting with different sizes or adjusting your technique will help you troubleshoot the issue. When a pattern goes awry, sometimes the best course of action is to embrace the unexpected result rather than viewing it as a mistake; many stunning designs have emerged from happy accidents. Building confidence as a jewellery maker is as much about developing resilience and problem-solving skills as it is about mastering technical techniques. Celebrate your progress, however small, and don't be discouraged by pieces that don't turn out as you envisioned. Each project, whether it ends up as a cherished keepsake or gets quietly disassembled for its component beads, contributes to your growing expertise and deepening understanding of this rewarding craft. With patience, practice, and a willingness to experiment, you'll find that seed bead craftsmanship becomes not just a hobby, but a fulfilling creative outlet that brings beauty and satisfaction into your life.


You May Also Like

The Complete Buyer’s Guide to the Bracelet 7 Chakras – Model 1: Price, Delivery Options, and Energetic Properties

The Perfect Tribute: Transforming Riding Memories into a Gold Motorcycle Pendant